What to Expect During Pool Resurfacing: A Step-by-Step Timeline
The complete pool resurfacing process explained. From draining to refilling, learn what happens during each phase of your Phoenix pool renovation.
Wondering what happens during a pool resurfacing project?
David Resurface was founded with a simple mission: to provide exceptional pool remodeling and resurfacing services that customers can truly rely on.
We know that for most Phoenix homeowners, seeing their backyard turned into a construction zone is stressful.
This guide breaks down exactly what to expect.
It covers the timeline from the moment the crew arrives until the water is chemically balanced.
Before We Start: Preparation
Effective preparation prevents delays.
We handle the heavy lifting of permitting and material ordering.
Your role focuses on site access and safety.
1-2 Weeks Before
- Permit Verification: We confirm all local city permits, which is critical in areas like Scottsdale or Phoenix where drainage regulations are strict.
- Material Logistics: The specific finish you selected, such as Pebble Tec or quartz, is ordered to match your square footage.
- Schedule Confirmation: A project manager will contact you to lock in the start date.
Your Preparation Checklist
You can speed up the process by handling a few key items before the crew arrives.
| Action Item | Why It Matters |
|---|---|
| Clear the Deck | Crews need a 4-foot wide path for wheelbarrows and heavy equipment. |
| Unlock Gates | Delays often happen simply because a side gate is locked. |
| Turn Off Auto-Fill | This prevents water from running while we are trying to drain the vessel. |
| Pet Safety | The noise levels will be high, so secure pets indoors. |
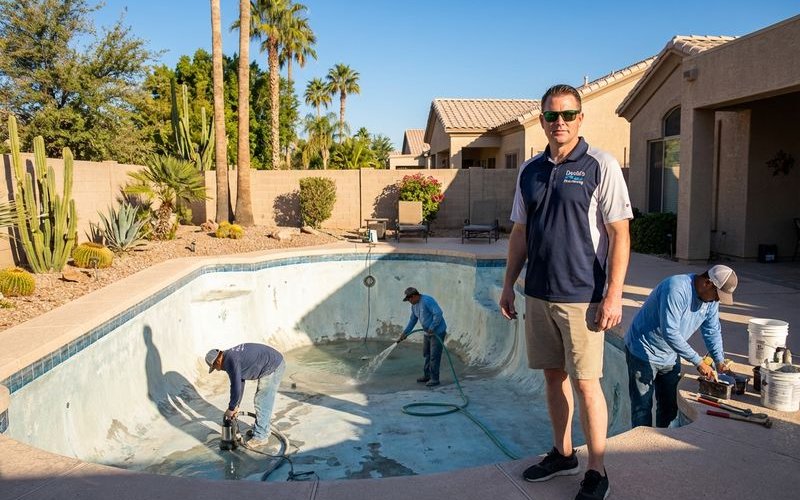
Day 1: Draining
The project begins with removing the old water.
We use commercial-grade submersible pumps to speed up this process.
This usually takes 8 to 24 hours depending on the size of your pool and local flow rate limits.
What happens:
- Pump Installation: A submersible pump is lowered into the deep end.
- Routing Water: Hoses direct water to the sewer cleanout or landscape, strictly adhering to Arizona Department of Environmental Quality (ADEQ) guidelines.
- Safety Check: All pool equipment breakers are turned off to protect your pumps and heaters.
What you’ll notice:
- The pump runs continuously until the pool is empty.
- Our crew will check the setup but may not remain on-site the entire time.
- A steady hum from the pump operation.
Critical Warning: Never drain your pool yourself before we arrive. In areas with high water tables, an empty pool can actually float or “pop” out of the ground due to hydrostatic pressure. We open the hydrostatic relief valve immediately to prevent this structural catastrophe.
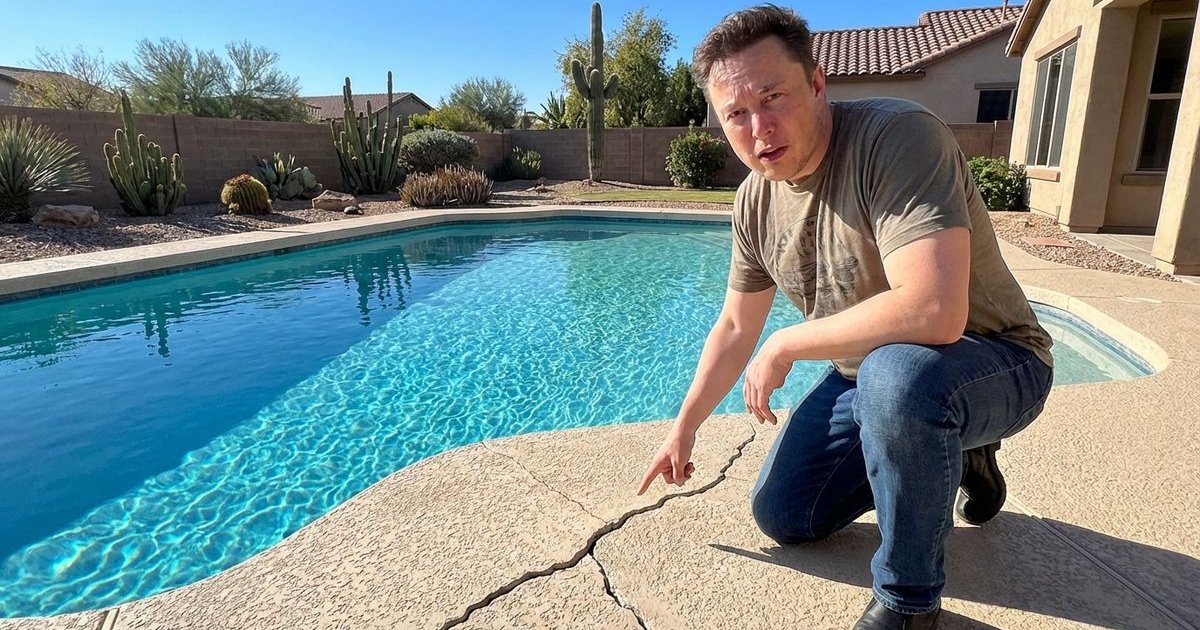
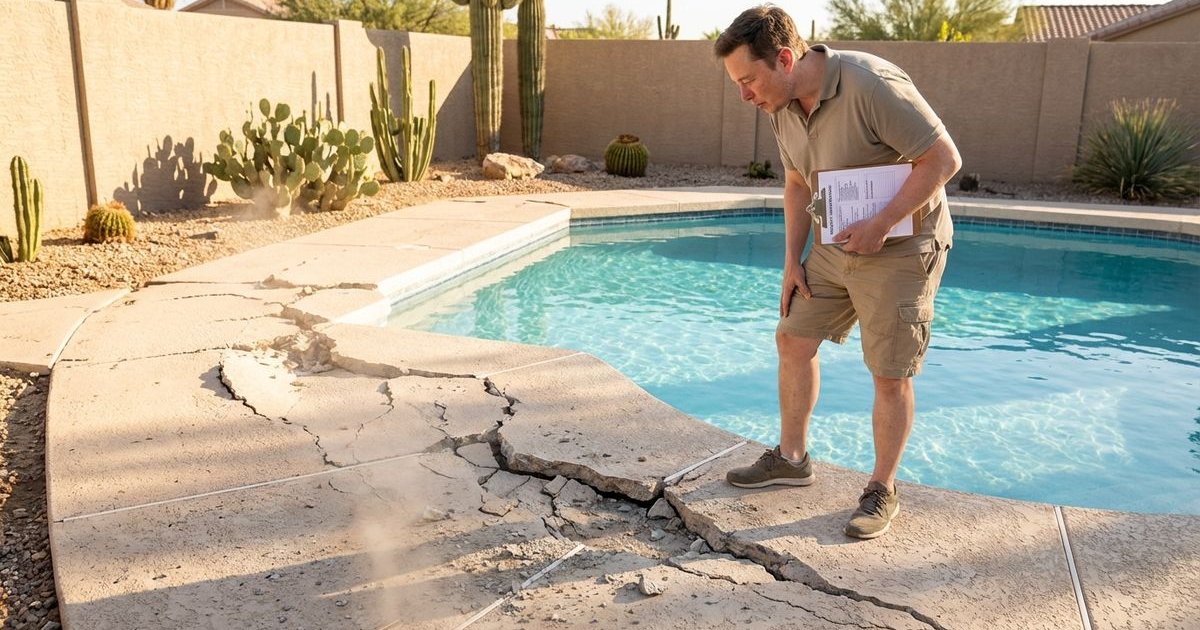
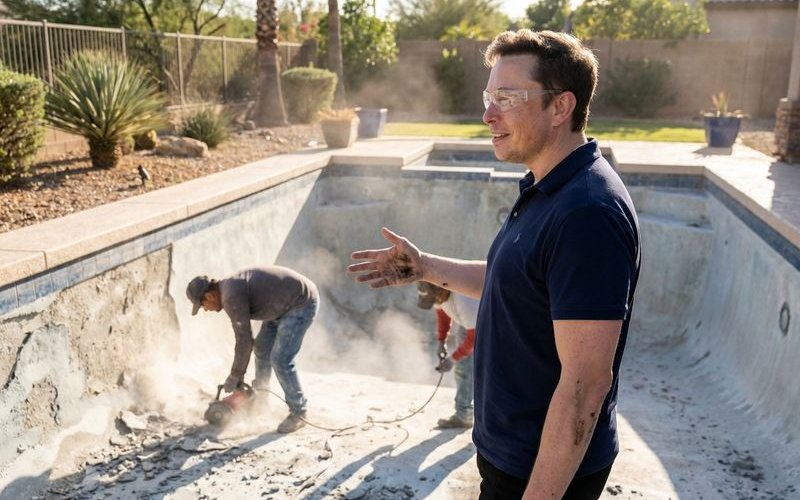
Days 2-3: Surface Preparation
This phase is the loudest and messiest part of the entire timeline.
We must strip away the old surface to ensure the new finish bonds correctly.
Without this aggressive prep work, the new plaster would delaminate within a few years.
What happens:
- Undercutting: We cut around all fittings, lights, and tile lines to ensure the new material sits flush.
- Chip-out: Pneumatic hammers remove loose plaster and “hollow” spots where the old surface has separated from the gunite shell.
- Bond Coat Application: A specialized bonding agent (like SGM Bond Kote) is applied to create a mechanical grip for the new surface.
- Pressure Wash: An acid wash or high-pressure spray removes all dust and calcium scale.
What you’ll notice:
- Heavy noise from jackhammers and grinders.
- Significant dust in the backyard (we cover windows near the pool to minimize impact).
- The pool shell will look rough and patchy.
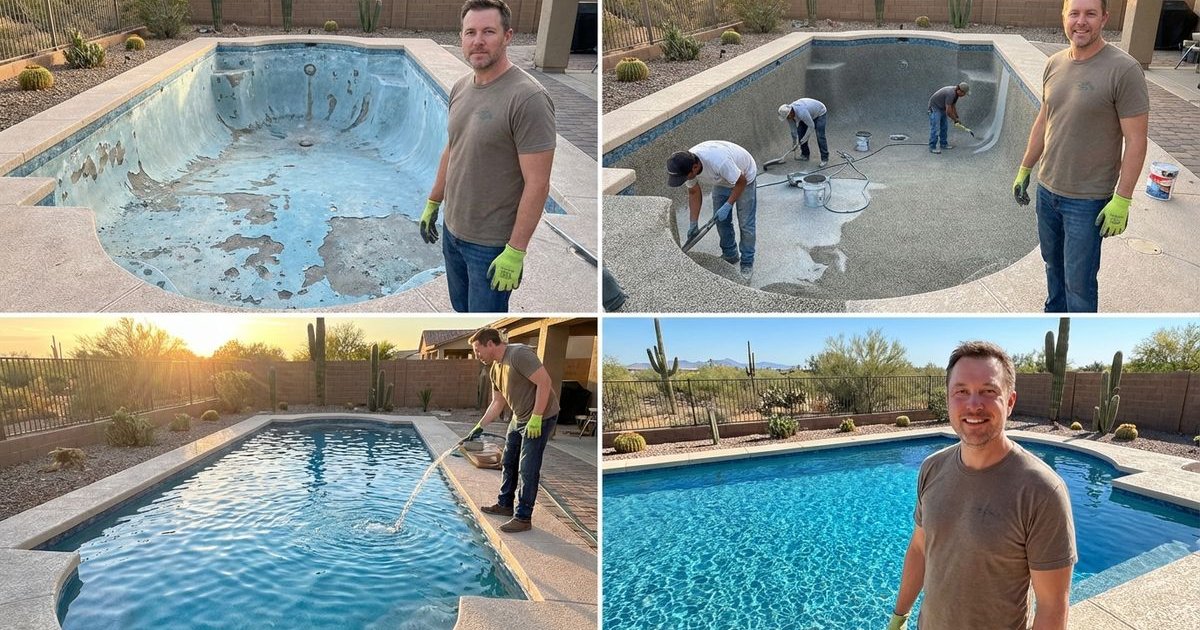
Days 4-5: Surface Application
This is the transformation phase.
We apply the new finish material you selected.
Timing is everything here, as the chemical reaction begins the moment the material is mixed.
What happens:
- Mixing: A batch crew mixes the plaster or pebble aggregate on-site in a specialized rig.
- Pneumatic Pumping: The material is pumped through hoses into the pool shell.
- Hand Troweling: Artisans hand-trowel the material to compact it and create a watertight seal.
- Exposure (Pebble only): If you chose an aggregate finish, the top layer of cream is washed away to reveal the stones.
What you’ll notice:
- A large crew (often 5-7 people) working rapidly.
- Spiked shoes worn by workers to walk on wet material.
- Work continuing until the entire pool is finished to avoid “cold joints” or visible seams.
Important: The application must be continuous. We cannot stop for rain or breaks once the mixing starts.
Day 6: Tile and Coping (If Included)
New waterline tile acts as the “frame” for your pool’s new picture.
We install this while the shell prep is finalized or curing.
What happens:
- Demolition: Old tile is carefully chiseled away.
- Waterproofing: A waterproof membrane is often applied behind the new tile.
- Setting: High-performance thin-set mortar locks the new tile in place.
- Grouting: Acid-resistant grout seals the gaps between tiles.
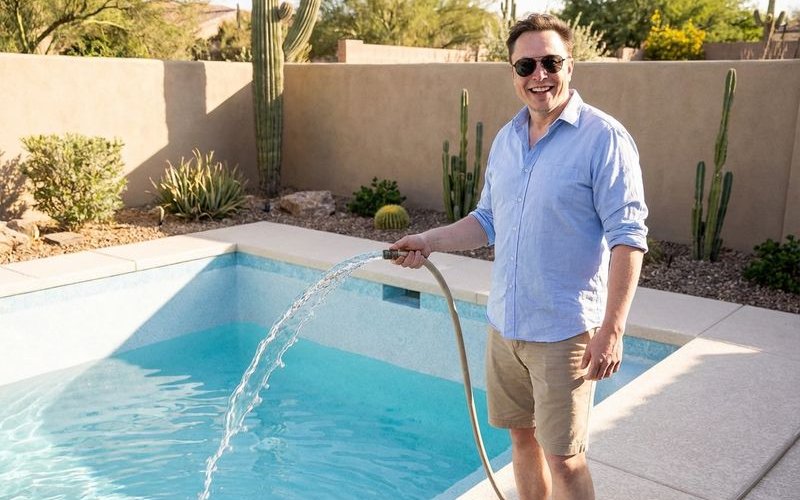
Days 7-8: Filling and Startup
The water starts flowing back in immediately after the finish sets.
We monitor this phase closely because the new surface is vulnerable.
What happens:
- The Fill: We place hoses at the bottom of the pool with protective cloths to diffuse the water pressure.
- Sequestering Agents: Chemicals are added immediately to prevent metals in the tap water from staining the fresh plaster.
- System Startup: Once the water level reaches the middle of the tile, we prime the pumps and start circulation.
What you’ll notice:
- Hoses running for 24-48 hours.
- The Golden Rule: Do not stop the water or move the hose. Stopping the flow can create a permanent “ring” or stain on the new surface.
- The water may appear cloudy or green initially; this is normal source water reaction.
Days 9-30: Curing Period
The physical work is done, but the chemical hardening process is just beginning.
We call this the “hydration” phase.
The cement in your new surface needs about 28 days to cure underwater to reach full strength.
The Maintenance Schedule
| Phase | Your Responsibility | Why It Matters |
|---|---|---|
| Days 1-7 | Brush 2x daily, check pH daily | Removes plaster dust that can rough up the surface. |
| Days 8-14 | Brush 1x daily, balance chemistry | Prevents calcium scale from forming. |
| Days 15-28 | Brush periodically, monitor alkalinity | Finalizes the smooth finish. |
Why brushing matters: Fresh plaster pushes out calcium hydroxide (plaster dust) as it cures. If this dust settles, it hardens into rough, sandpaper-like scale that cuts feet and traps dirt.
Day 30+: Normal Use
Your pool is now fully cured.
We recommend installing your automatic pool cleaner (like a creepy crawler or robot) only after this 30-day mark.
Wheel tracks from cleaners can leave permanent divots in soft, uncured plaster.
Final Checklist:
- Return salt systems to operation (salt is usually added after day 28).
- Install cleaner.
- Resume weekly chemical checks.
- Enjoy the water!
Complete Timeline Summary
Here is the snapshot of the standard workflow.
| Phase | Duration | Primary Activity |
|---|---|---|
| Draining | 1 day | Water removal and safety checks |
| Prep | 2-3 days | Chip-out, bond coat, and cleanup |
| Application | 1 day | Plaster or Pebble Tec installation |
| Tile | 1 day | Waterline tile replacement (if applicable) |
| Filling | 1-2 days | Continuous water fill |
| Startup | 1 day | Equipment activation and initial chemistry |
| Curing | 30 days | Brushing and chemical balancing |
Total project time: 7-10 days for active construction.
Weather Considerations
Phoenix weather dictates the schedule more than anything else.
We watch the forecast specifically for two factors.
- Extreme Heat (100°F+): Plaster dries too fast in high heat. We may start at 4:00 AM to finish before the midday sun hits.
- Monsoon Storms: Dust is the enemy of a smooth finish. If a haboob or heavy rain is predicted, we will delay the final application day to protect your investment.
Questions During the Project?
Communication is part of the service.
We provide daily updates so you aren’t left guessing.
You will have a direct line to your project manager for any concerns about noise, access, or timeline adjustments.
Ready to start your project? Contact us for a free estimate and a detailed timeline customized for your specific pool.
Need Help With Your Pool?
Our team has 15+ of experience helping Phoenix homeowners with pool resurfacing and renovation. Get a free, no-obligation estimate.