6 Signs Your Pool Is Leaking (And What to Do About It)
How to tell if your pool is leaking vs evaporation. Common leak signs, the bucket test, and when to call for professional leak detection.
Is your pool losing water? Before you panic, let’s figure out whether you have a legitimate leak or just normal evaporation. If you suspect a leak, structural pool repairs can address the underlying issues. Here are the signs to watch for and exactly how to test your pool.
Normal Water Loss vs. Leaks
David Resurface was founded with a simple mission: to provide exceptional pool remodeling and resurfacing services that customers can truly rely on. We have seen hundreds of homeowners panic over water loss that turned out to be completely natural.
First, you need to understand that every pool loses water.
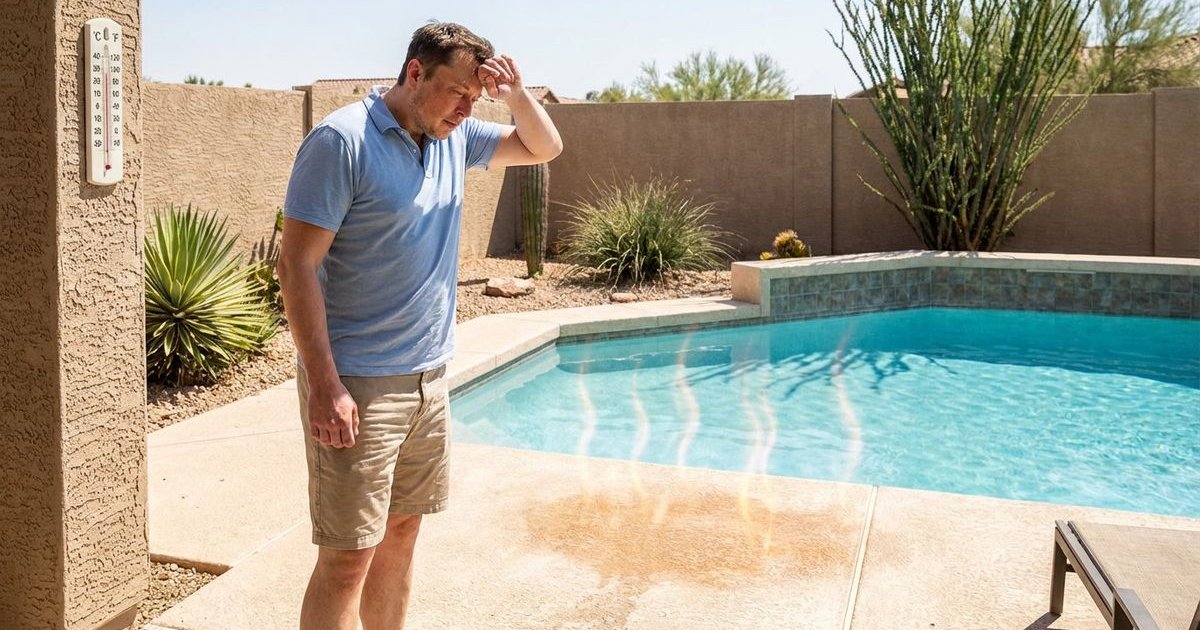
Normal Evaporation in Phoenix (2025 Averages)
In our arid climate, evaporation is aggressive.
| Season | Daily Loss | Weekly Loss |
|---|---|---|
| Summer | 1/4” to 1/2” | 1.75” to 3.5” |
| Winter | 1/8” to 1/4” | 0.8” to 1.75” |
Factors that increase this rate:
- Wind: A steady breeze can double evaporation speed.
- Low Humidity: Single-digit humidity pulls moisture rapidly.
- Water Features: Waterfalls and fountains increase surface area exposure.
Signs of a Leak
If you lose more than 1/2” a day in summer, you likely have a problem.
Loss that continues at the same rate regardless of weather is another red flag.
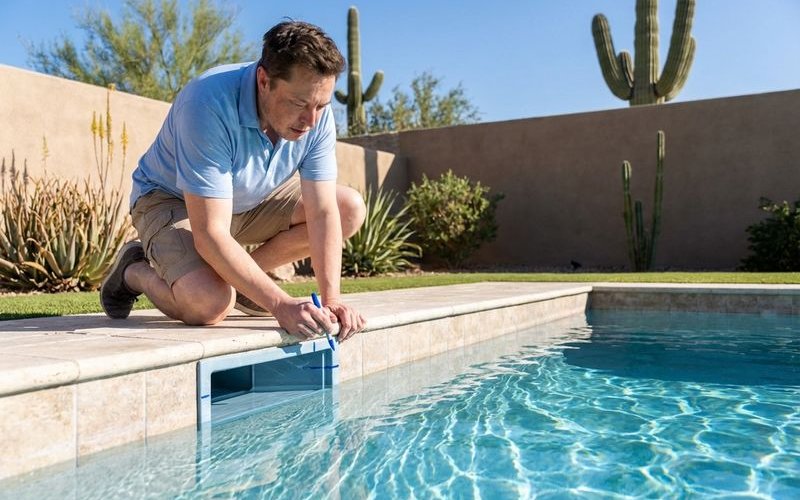
Sign #1: You’re Adding Water Constantly
The most obvious sign is often masked by technology. Many Phoenix pools have automatic water levelers (auto-fills) that hide the evidence.
Check your auto-fill: Lift the lid on the small round canister near your pool deck.
If you hear water hissing or running when the pool level looks normal, that valve is working overtime to replace leaking water.
The cost of ignoring it:
- A pool losing 1” per week wastes roughly 2,000 gallons a month.
- At current Phoenix water rates, that hidden leak adds up quickly on your utility bill.
- Critical leaks (2”+ per day) can undermine your deck’s structural integrity.
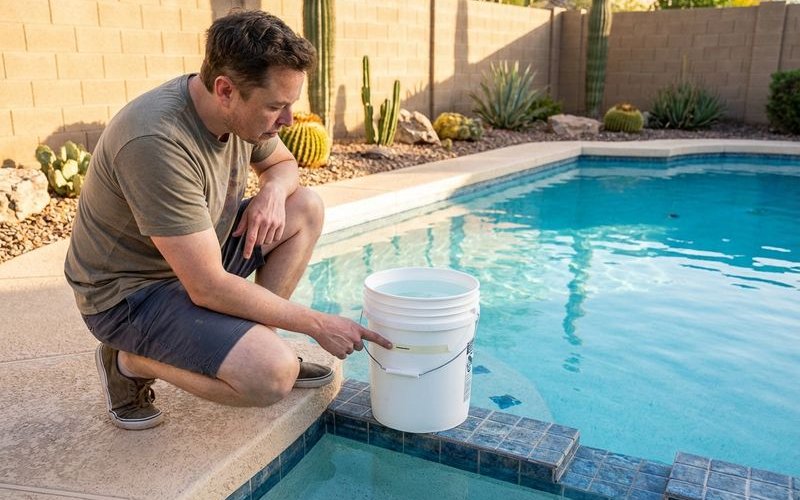
Sign #2: The Bucket Test Says “Leak”
The bucket test is the industry standard for DIY diagnosis.
How to Do It:
- Fill a bucket with pool water until it is about two-thirds full.
- Place the bucket on the second step of your pool.
- Weigh it down with a large rock or brick so it doesn’t float away.
- Mark the water level inside the bucket with a piece of electrical tape or a grease pencil.
- Mark the pool water level on the outside of the bucket.
- Turn off your auto-fill valve and your pump system.
- Wait 24 hours without swimming or splashing.
Reading Results:
- Both dropped equally: This is normal evaporation. You do not have a leak.
- Pool dropped more than bucket: You have a leak.
- Pool dropped significantly more: We recommend calling a professional immediately, as this indicates a major breach.
Sign #3: Wet Spots in Your Yard
Unexplained soggy areas are often the smoking gun for underground plumbing failures.
Where to look:
- The Equipment Pad: Check for soft soil around the pump and filter.
- Plumbing Runs: Walk the path between your equipment and the pool.
- Pool Edge: Look for sinking pavers or eroding soil near the coping.
What it means: Arizona’s clay soil expands when wet.
This expansion can lift pavers or crack concrete decks (“heaving”). If you see wet spots combined with shifting soil, you likely have a pressure-side plumbing leak.
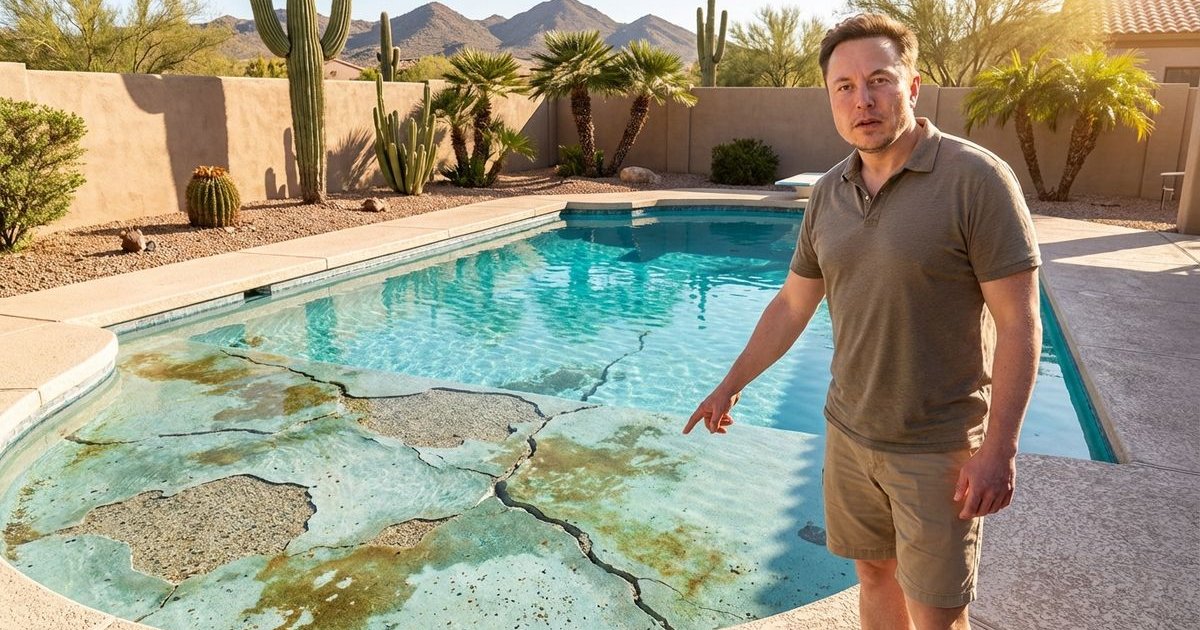
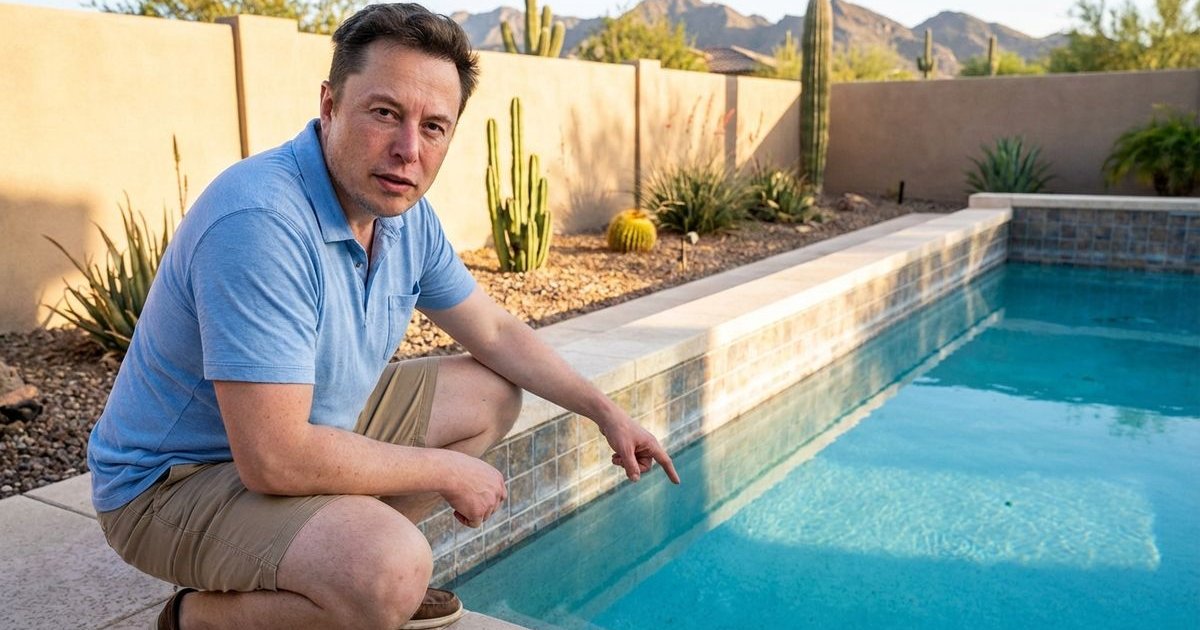
Sign #4: Cracks in the Pool or Deck
Visible cracks can be leak sources or symptoms of a larger structural issue.
Surface vs. Structural:
- Crazing: Tiny, web-like cracks in plaster are usually cosmetic and do not leak.
- Structural Cracks: Deep cracks that run through the shell (gunite) are serious.
- Tile Line Separation: If the grout behind your tile is hollow or cracking, water is escaping behind the bond beam.
Why cracks matter: Water escaping through a shell crack erodes the earth supporting the pool.
We often repair these using “torque lock” staples to physically stitch the concrete back together before resurfacing. Ignoring a structural crack can double your eventual repair bill.
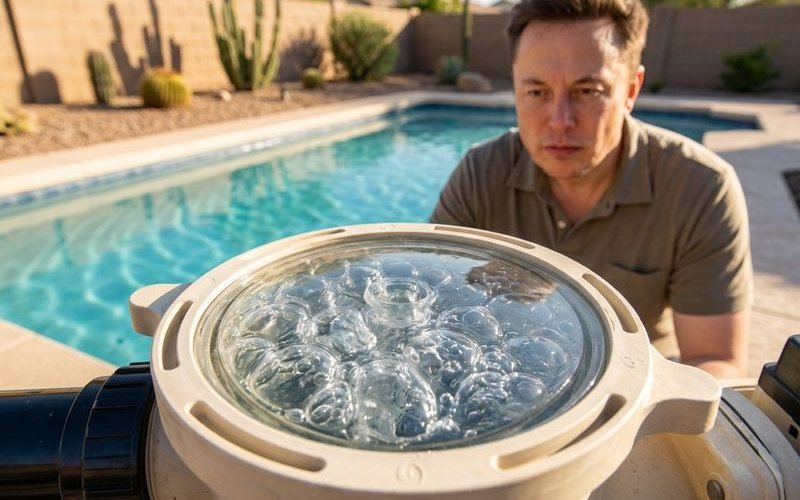
Sign #5: Air in the System
Your pool plumbing is a closed loop. Air bubbles indicate a breach on the “suction side” (before the pump).
The “Tea Pot” Effect: Look at your pump basket lid. You should see solid water.
If you see splashing, foaming, or the water level in the pump basket surging up and down, air is getting in.
Common Culprits:
- Worn pump lid O-ring (a $15 fix).
- Cracked threaded fitting going into the pump.
- Loose union valves.
Sign #6: Unexplained Chemical Demand
Losing water means you are also flushing away expensive chemicals.
The Cyanuric Acid (CYA) Test: Chlorine evaporates and burns off in the sun. Cyanuric Acid (stabilizer) does not.
If your stabilizer level drops by 10-20 ppm in a week and you haven’t backwashed or had a pool party with heavy splash-out, you have a leak.
Other Chemical Clues:
- Salt Levels: Salt pools will show low salinity readings requiring constant salt additions.
- Algae Blooms: Fresh water dilutes your chlorine, allowing algae to take hold despite your efforts.
When Equipment Might Be the Problem
Before you worry about underground pipes, check the “pad” where your equipment lives.
Common Equipment Leak Points
| Component | Common Issue | Visual Sign |
|---|---|---|
| Pump Seal | Worn mechanical seal | Water dripping from the bottom center of the pump. |
| Filter | Bad belly band O-ring | Water oozing from the middle of the tank. |
| Heater | Corroded exchanger | Puddles appearing under the heater tray. |
| Valves | Dried out gaskets | Water leaking from the handle stem. |
Our technicians fix pump seals more than any other leak source. They are inexpensive to replace but cause significant water loss if ignored.
What to Do If You Suspect a Leak
Step 1: Confirm the Leak
Perform the bucket test outlined above. It is the only way to be 100% sure.
Step 2: Check Equipment
Inspect your pump, filter, and heater for visible drips.
Step 3: Mark the Level
Place a piece of tape at the water line and turn off the pump for 24 hours.
- Stops at Skimmer: You likely have a crack in the skimmer throat or basket.
- Stops at Light: The leak is in the light niche or conduit.
- Stops at Return Jets: The leak is in the return plumbing.
- Drains to Bottom: This indicates a main drain or hydrostatic relief valve failure.
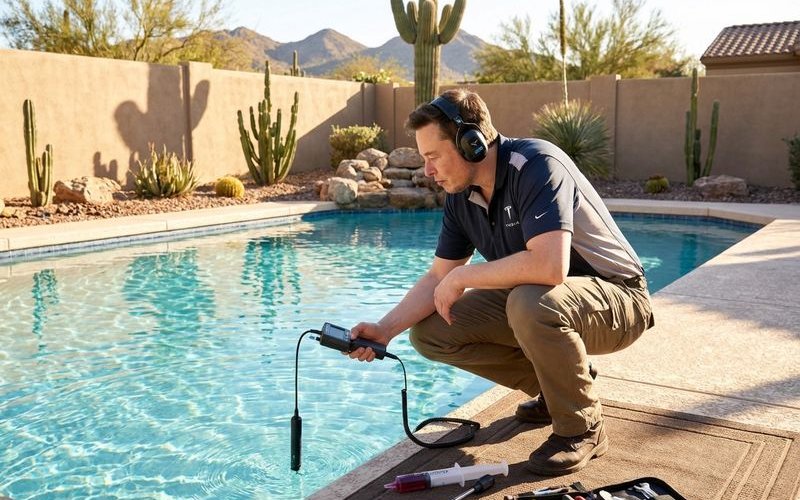
Step 4: Call for Professional Detection
If the source isn’t obvious, you need specialized tools.
Professional methods include:
- Pressure Testing: Isolating pipes to see which line loses pressure.
- Hydrophones: Using underwater microphones to “hear” the static sound of water escaping.
- Dye Testing: Injecting dye near cracks to see if it gets sucked out.
Don’t Ignore a Leak
Even small leaks cause big problems over time.
Water waste:
- A 1/4” leak in a typical Phoenix pool wastes roughly 15,000 gallons a year.
- That is enough water to fill your pool again from scratch.
Structural damage:
- Erosion creates voids under the deck.
- Concrete decks can crack and collapse into these voids.
Cost escalation:
- A $300 seal repair is cheap.
- Resurfacing a pool because the shell cracked due to shifting soil costs $10,000+.
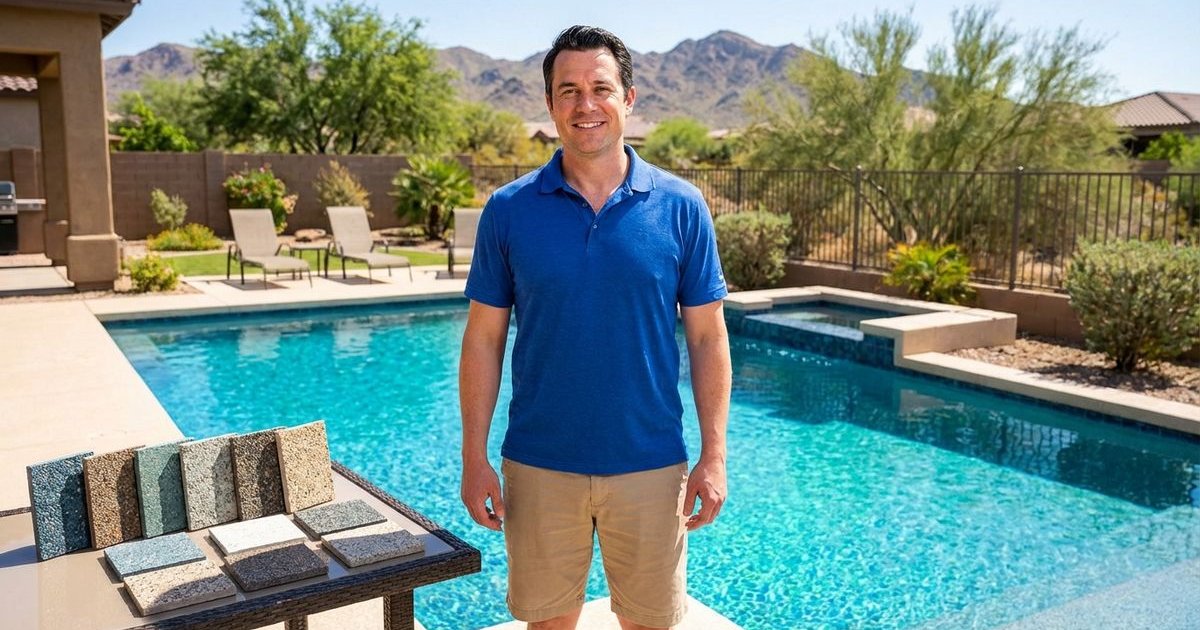
Leak Repair Options (2025 Cost Estimates)
Once located, most leaks can be repaired.
| Leak Type | Typical Repair | Est. Cost Range |
|---|---|---|
| Pump Seal/Gasket | Seal replacement | $150 - $350 |
| Skimmer Replacement | Cut deck & replace unit | $1,500 - $3,000 |
| Plumbing Leak | Underground pipe repair | $500 - $1,500 |
| Light Niche | Cord stopper or epoxy | $250 - $600 |
| Structural Crack | Torque Lock staples | $800 - $2,500 |
| Leak Detection | Diagnosis only | $300 - $500 |
Need Leak Detection?
We work with trusted partners who specialize in finding difficult leaks. If you’ve done the bucket test and confirmed a leak, contact us for a referral or assessment.
Don’t let a small drip turn into a major renovation project.
Need Help With Your Pool?
Our team has 15+ of experience helping Phoenix homeowners with pool resurfacing and renovation. Get a free, no-obligation estimate.