Pool Chemistry After Resurfacing: The First 30 Days Are Critical
Startup chemistry guide for freshly resurfaced pools. How to balance water, brush properly, and avoid staining your new Pebble Tec or plaster.
Congratulations on your new pool finish! The next 30 days are the most important period after pool resurfacing. Proper startup chemistry and care will determine how your Pebble Tec, Diamond Brite, or plaster looks and lasts for years to come.
Why the First 30 Days Matter
You know how the final finish is what everyone actually sees, despite all the structural work underneath? That beautiful new surface is surprisingly vulnerable right now. We see it all the time with Phoenix pools: a great installation gets compromised because the curing process wasn’t managed correctly in the first month.
The scientific term for what is happening is “hydration.” The cement in your plaster or aggregate finish isn’t just drying; it is undergoing a chemical reaction that locks the material together.
This process creates temporary challenges:
- Calcium Release: The surface pushes out calcium hydroxide (known as “plaster dust”).
- High pH Spikes: As calcium releases, it drives pH up aggressively.
- Softness: The material hasn’t reached its full PSI strength yet.
If these factors aren’t controlled, you risk permanent staining or rough “scale” deposits. Our team has seen finishes ruined in two weeks simply because the water chemistry was ignored.
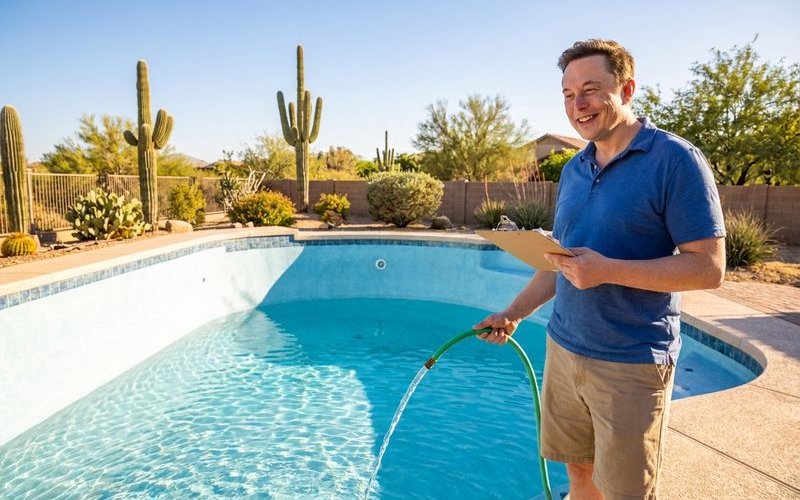
Day 1: The Fill
The moment water touches your new finish, the startup clock begins.
Use a Pre-Filter (Essential in Phoenix)
Phoenix tap water is notoriously hard, often testing between 250 and 350 ppm for Calcium Hardness right out of the tap. We strongly recommend using a hose-end filter like the MetalTrap or a Pleatco pre-filter. These attach to your garden hose and trap metals and debris that can immediately stain the uncured surface.
Fill Continuously
Once you turn the water on, do not turn it off.
- Run the water 24-48 hours straight until it reaches the middle of the tile line.
- Stopping the flow creates a “bathtub ring” or hydration line that may never disappear.
- If you are worried about an overflow, turn the pressure down, but keep it running.
The “Sock” Trick
If you don’t have a professional pre-filter, protect the finish from the metal hose end. Wrap a clean, white cotton sock or rag around the nozzle and tape it securely. This diffuses the water pressure and catches physical debris.
Days 1-7: Critical Period
This first week requires the most attention.
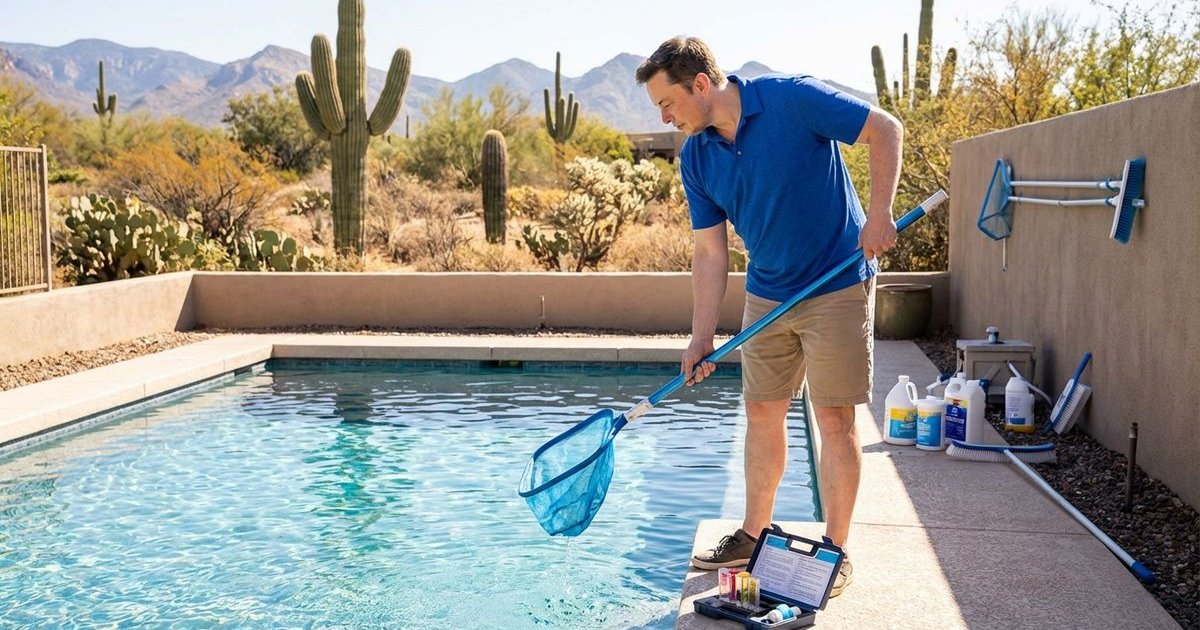
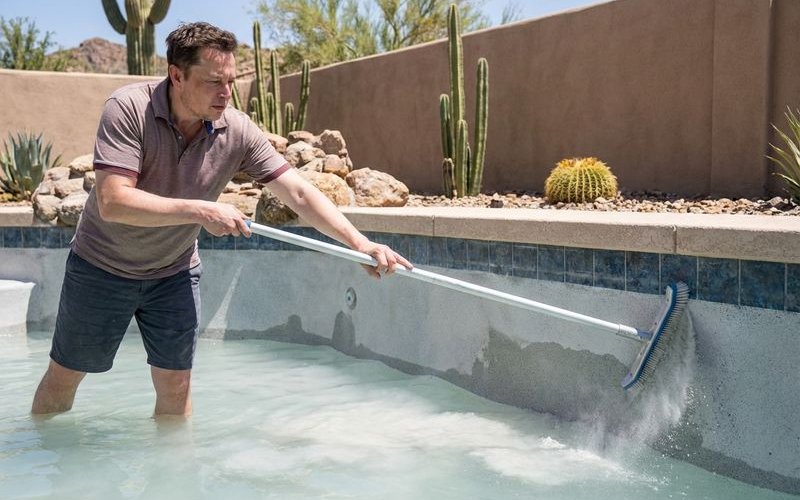
Daily Brushing (Non-Negotiable)
You must brush the entire surface twice a day for the first week.
- Use a Nylon Brush Only: Stainless steel bristles can tear up soft, curing plaster.
- Focus on Coverage: Hit every square inch—walls, floor, steps, and benches.
- The Goal: You are mechanically removing the plaster dust before it can settle and harden into scale.
Run the Pump 24/7
Keep the water moving. We advise running the main circulation pump continuously for the first 7 days to ensure chemicals mix thoroughly and dust gets filtered out.
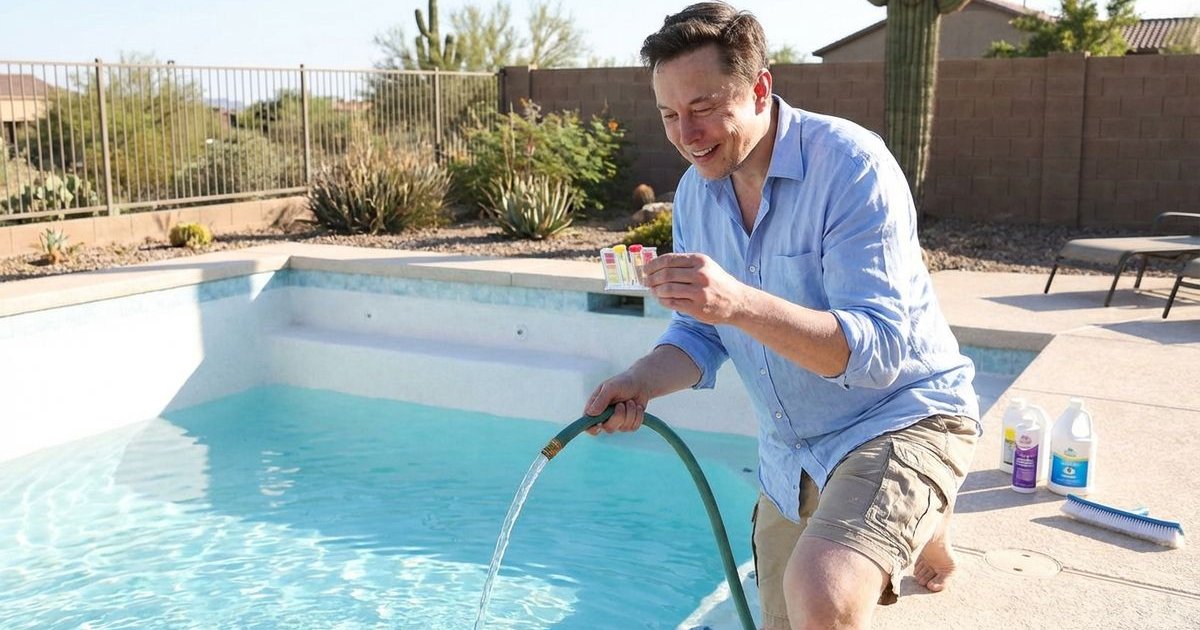
First Chemical Balance
The National Plasterers Council (NPC) recommends specific targets for startup.
| Parameter | Startup Target | Why It Matters |
|---|---|---|
| pH | 7.2 - 7.4 | Keeps water slightly aggressive to prevent scale. |
| Total Alkalinity | 80 ppm | buffers the pH against rapid swings. |
| Calcium Hardness | 150 - 200 ppm* | Helps hydration. |
| Cyanuric Acid | 30 - 50 ppm | Protects chlorine from the sun. |
| Free Chlorine | 1.0 - 3.0 ppm | Prevents algae without bleaching. |
*A Note on Phoenix Calcium: Since Phoenix fill water often starts at 300+ ppm, do not add Calcium Chloride without testing your tap water first. Adding more calcium to our hard water will almost certainly cause scale.
The “Orenda” Approach
Many industry pros now use a “chelation” strategy. We suggest adding a sequestering agent (like Orenda SC-1000 or Jack’s Magic The Purple Stuff) on day one. These products hold minerals in solution so they can’t form scale on the walls, even if your calcium levels are high.
Days 7-14: Continuing Care
The curing process slows down, but the surface is still reactive.
Maintain the Routine
Continue brushing once a day. The dust production will decrease, but you will likely still see a cloud of white powder when you brush.
Monitor the LSI
Professional pool techs use the Langelier Saturation Index (LSI), not just individual readings.
- This formula calculates if water is corrosive (eating the plaster) or scaling (depositing minerals).
- Download an LSI calculator app (like the Orenda App) to check your balance.
- Your goal is an LSI between -0.2 and +0.2.

Days 14-30: Transition Period
Your finish is beginning to cure but isn’t fully hardened.
Reduce Brushing frequency
You can switch to brushing every other day. If you stop seeing “dust” clouds when you brush, you are nearing the end of the initial cure.
Normalize Chemistry Gradually
Begin raising parameters to normal operating levels:
| Parameter | Day 14-30 Target |
|---|---|
| pH | 7.4 - 7.6 (Standard) |
| Total Alkalinity | 80 - 100 ppm |
| Calcium Hardness | 200 - 400 ppm |
| Cyanuric Acid | 30 - 50 ppm |
| Free Chlorine | 2 - 4 ppm |
Can You Swim?
Yes, with limitations.
- Keep swims short (under 30 minutes) to avoid skin irritation from potential plaster dust.
- Shower before entering to remove body oils and soap, which can stain the porous surface.
- Avoid “pushing off” the walls aggressively, as the surface is still slightly soft.
After 30 Days: Normal Operation
Your finish is essentially cured. We consider the pool “graduated” at this point.
- Resume Weekly Brushing: This keeps algae spores from taking hold in the texture.
- Balance for the Long Haul: Keep pH between 7.4 and 7.6.
- Enjoy Your Pool: You can now use the pool normally.
Common Startup Problems
Gray Mottling
What it looks like: Darker gray blotches or streaks in white plaster.
The Cause: This is often an issue with “hydration,” where moisture gets trapped unevenly in the material. It can also happen if the fill was stopped and started.
The Fix: Be patient. Many of these spots fade as the hydration balances out over the first year.
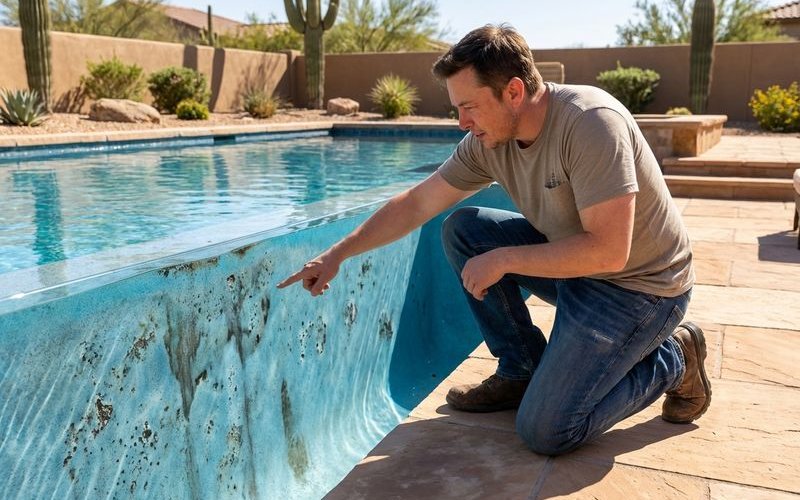
White Scale (Roughness)
What it looks like: Sandpaper-like texture or white deposits on the walls.
The Cause: High LSI. This happens when pH stays too high (above 8.0) for too long during the first week, or if calcium levels were too high.
The Fix: You may need to lower pH to 7.0 for a few days and brush aggressively to dissolve the scale.
Metal Staining
What it looks like: Small rust-colored spots or teal green blotches.
The Cause: Metals from the fill water or a copper heat exchanger.
The Fix: Add a metal sequestrant immediately. You can also rub a Vitamin C tablet on a spot; if it vanishes, it’s a metal stain.
What NOT to Do
Don’t Add Salt for 30 Days
This is the most common mistake we see with saltwater pools.
- Salt is corrosive to uncured plaster.
- Electrolysis from the salt cell can damage the fresh surface.
- Wait 30 days (or 28 days minimum) before dumping salt bags in.
Don’t Use Wheeled Cleaners
Keep your robot or suction cleaner out of the pool.
- The wheels can leave permanent tracks in the soft plaster.
- Wait 28 days before installing any automatic cleaner.
Don’t Use the Heater
Heat drives calcium out of solution, causing immediate scale. Keep the heater off for at least 21-28 days until all plaster dust is gone.
Don’t Shock the Pool
High doses of chlorine (shock) can bleach or whiten colored finishes. Keep chlorine levels steady but low (1-3 ppm).
Our Startup Support
We include startup chemicals and instructions with every resurfacing project.
Our team handles the initial setup to take the stress off you:
- Initial Dose: We add the sequestrant and start the fill.
- The Guide: You get a printed, day-by-day checklist.
- Support Line: You can text or call us with chemistry questions.
- The Checkup: We return after fill to test the water.
Your finish’s longevity depends on proper startup. We take it seriously because we want your investment to last.
Questions During Your Startup?
Having issues or concerned about your new finish? Contact us or call (602) 619-1234. We’re here to help ensure your investment is protected.
Need Help With Your Pool?
Our team has 15+ of experience helping Phoenix homeowners with pool resurfacing and renovation. Get a free, no-obligation estimate.